
Article
The Tunneling Technique for Small-Volume Bone and Soft-Tissue Augmentation
The tunneling technique is transforming small-volume bone and soft-tissue augmentation into a minimally invasive, high-success procedure that delivers esthetic and functional excellence. With success rates exceeding 90% in clinical studies, this method is becoming a go-to for dentists seeking precision, patient comfort, and predictable outcomes1.
Why the Tunneling Technique is a Game-Changer
Imagine achieving ridge augmentation or root coverage without the trauma of large flaps or extensive suturing. The tunneling technique allows clinicians to preserve vascular integrity, minimize tissue disruption, and accelerate healing, all while delivering impressive regenerative results.
- Minimally Invasive: Small incisions and subperiosteal tunneling reduce postoperative pain and swelling1.
- Esthetic Preservation: Maintains papillae and gingival contours, crucial in the anterior zone.
- Versatile Applications: Ideal for horizontal ridge augmentation, soft-tissue grafting, and peri-implant defect management.
Clinical Indicatoin
The tunneling technique shines in 1,2:
- Horizontal Ridge Augmentation: Especially in narrow ridges where flap elevation risks tissue loss.
- Soft-Tissue Grafting: For root coverage or increasing keratinized tissue.
- Peri-Implant Defects: Treating minor bone loss or soft-tissue recession around implants.
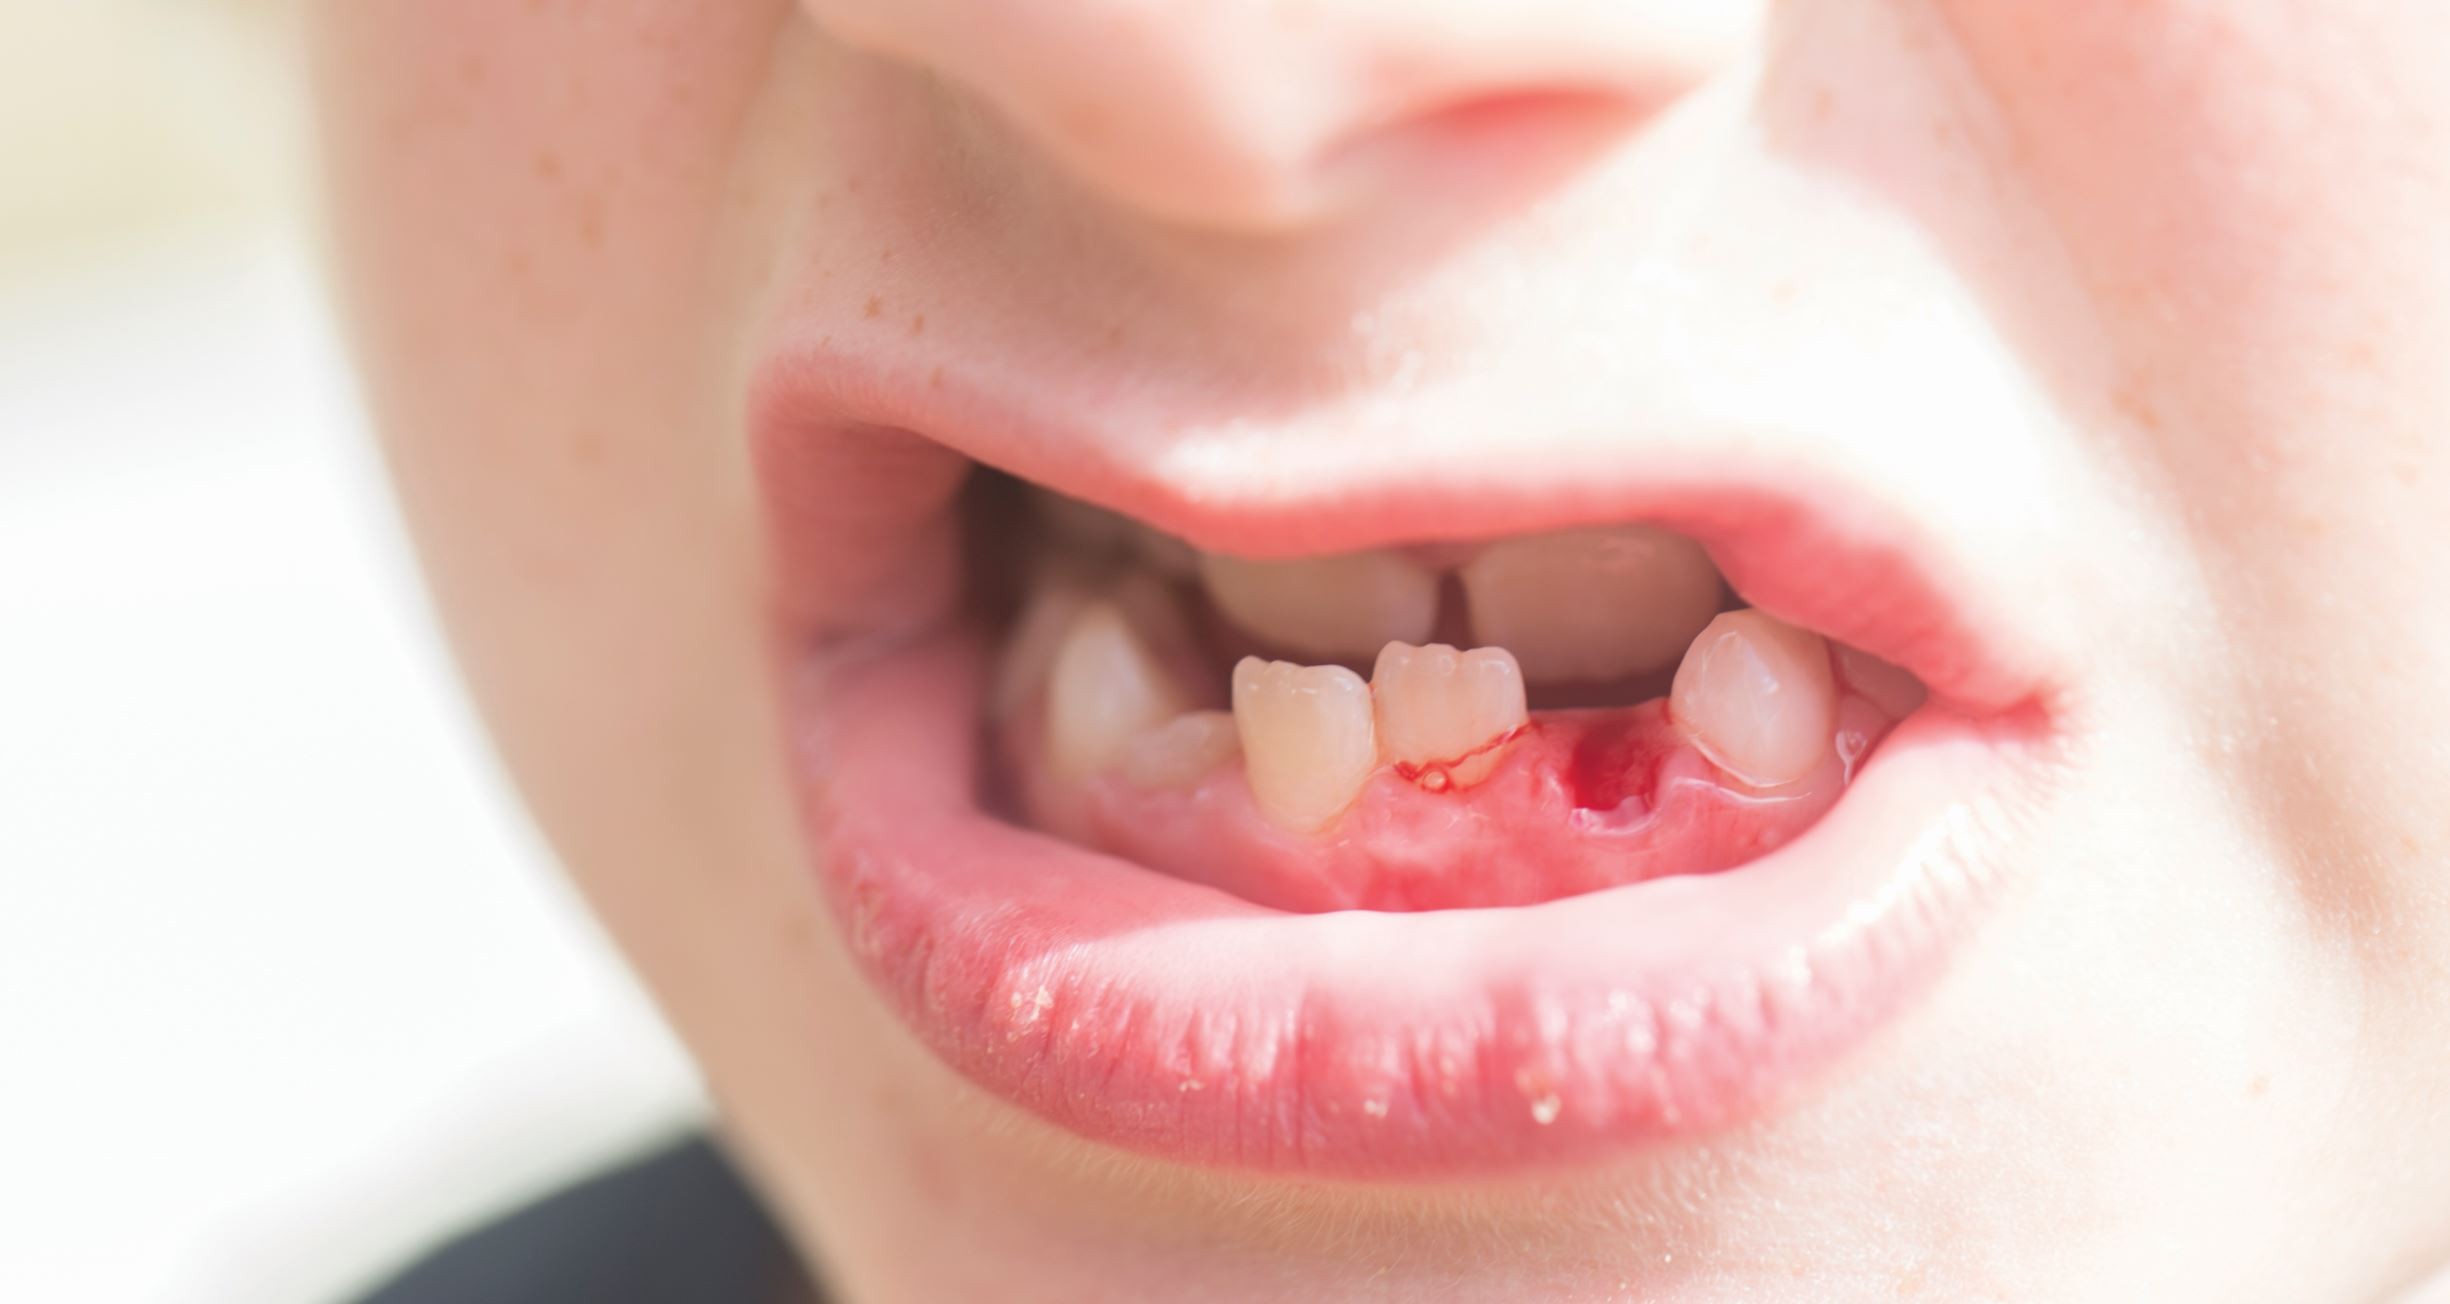
It’s best suited for small to moderate defects, and while technically demanding, it rewards skilled clinicians with superior outcomes.
Surgical Protocol 2
Step 1: Entry Without Trauma
Instead of opening wide flaps, the procedure begins with a small, carefully placed incision in a non‑esthetic area. This subtle entry point keeps the surgery minimally invasive and patient‑friendly.
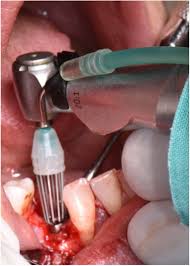
Step 2: Creating the Tunnel
Using blunt dissection instruments, the clinician develops a subperiosteal tunnel beneath the mucosa and periosteum. This corridor preserves vascular supply and soft‑tissue integrity, ensuring the biological environment remains favorable for healing.
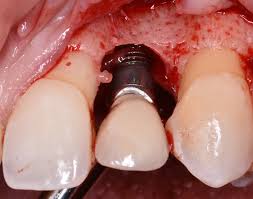
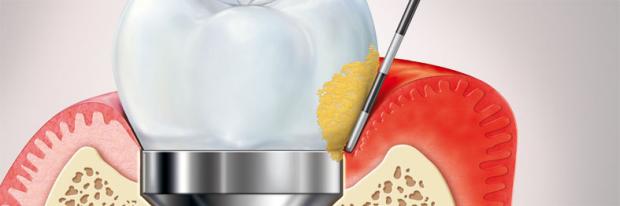
Step 3: Delivering the Graft
Through this tunnel, bone particles and membranes are introduced directly into the defect site. Because the tunnel guides and contains the graft, there is no need for extensive flap elevation.
Step 4: Stabilization and Closure
The graft is compacted and stabilized within the tunnel. Closure is simple, often requiring only minimal suturing of the access incision.
Step 5: Biological Advantage
By avoiding flap elevation, the technique maintains esthetic contours, reduces trauma, and promotes predictable ridge augmentation outcomes. Healing is faster, morbidity is lower, and soft‑tissue esthetics are preserved.
Clinical Considerations and Tips
- Minimally Invasive: Small incision, less trauma, faster recovery.
- Preserves Biology: Vascular supply and periosteum remain intact.
- Esthetic Benefit: Gingival contours and papillae are maintained.
- Efficient Closure: Minimal suturing, reduced chair time.
- Predictable Results: Ideal for small‑volume ridge augmentation and implant site preparation.
Tips for Mastery
- Use blunt dissection tools to avoid perforating the mucosa.
- Ensure adequate tunnel length for graft placement and stability.
- Practice on models or cadavers to refine tactile skills before clinical application.
Bottom line: The tunneling technique isn’t just a surgical method; it’s a philosophy of precision, preservation, and patient-centered care. For dentists ready to elevate their practice, this technique offers a compelling blend of science and artistry
Reference
- Sivolella S, Brunello G, Castagna DA, Cavallin F, Consolo U. Tunnel Technique in Bone Augmentation Procedures for Dental Implant Rehabilitation: A Systematic Review. Dentistry Journal. 2024 Dec 11;12(12):405.
- D’Albis G, D’Albis V, D’Orazio F. Tunnel access for ridge augmentation: A review.
Related Contents
Video
Management of Traumatic Tooth Avulsion: When & How?
Traumatic tooth avulsion is a true dental emergency requiring immediate and structured management to...
Article
Prosthetic Design Factors That Prevent Peri-Implant Bone Loss
You placed the implant perfectly. Osseointegration was flawless. But three years later, there is 3mm...
Article
Treatment Algorithms for Peri-Implant Mucositis and Peri-Implantitis
You can prevent most peri-implant disease. But once it develops, treatment becomes less predictable....
Article
Implant Surface Decontamination: What Actually Works
Treating peri-implantitis starts with one critical step, which is decontaminating the implant surfac...
Article
Growth & Facial Asymmetry: When to Worry
Only a few dentists can notice it and realize the asymmetry can signal an underlying skeletal imbala...
Article
Orthodontic Red Flags Every Dentist Should Recognize: Functional Habits and Airway Cues
Some malocclusions cases stall for reasons you can’t see on a scan, as not...
Article
Tooth Eruption & Space Management: What Orthodontists Should Watch For
Tooth eruption may not alwaxfys fit the predictable biological timeline. A delayed or ecto...
Article
Communication & Referral Timing: Getting It Right
You have identified a problem, maybe a severe Class III malocclusion in a 9-year-old, or it is an im...